How to Enable HTTPS / SSL on WAMP Server
Why Would I Need HTTPS / SSL on WampServer?
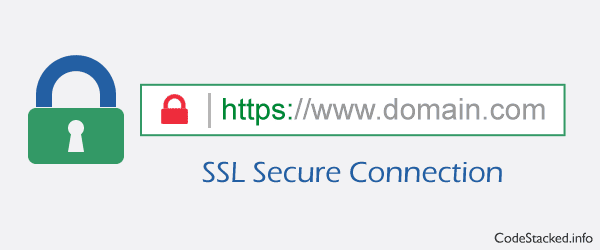
The time has come for all websites to migrate to HTTPS. Effective July 2018, Google’s Chrome browser will mark non-HTTPS sites as “not secure”. Google has been pushing webmasters to make the change to non-secure websites for many years now including hinting at small rankings boost. SSL stands for “Secure Sockets Layer” and when a website owner has one, all data passed between web browsers and servers is private and encrypted.
WampServer is a great tool for building a website on your local computer but as of right now it does not support HTTPS / SSL out of the box. Building your website from the ground up with HTTPS / SSL in mind can save you a lot of problems when you finally do put your site online. In the tutorial below, I will show you how to set up HTTPS / SSL for WampServer using OpenSSL.
Step 1: Download and Install WampServer
Wampserver is available in both 32 and 64 bit. Make sure you select the correct installer for your version of Windows. Wampserver is not compatible with Windows XP, SP3, or Windows Server 2003. The latest version of WampServer can be found here https://sourceforge.net/projects/wampserver/.
Step 2: Download and Install OpenSSL
OpenSSL is available in both 32 and 64 bit. Make sure you select the correct installer for your version of Windows. You can find the latest version of OpenSSL here https://slproweb.com/products/Win32OpenSSL.html. Navigate to your downloads folder and double click the installer. When Installing OpenSSL leave all settings default.
Step 3: Create Your Key and Certificate
Open your start menu and Load Command Prompt as an Administrator and run the following commands.
First, we will need to change our directory to where we installed OpenSSL.
Next, we will create our private key. You will be asked for a passphrase. Make it anything you want just make sure you remember it for the next step.
Next, we will create our certificate. You will be asked several questions on this step. You can put whatever you like or just hit enter to leave it at default. The only one that really matters is Common Name (e.g. server FQDN) you will need to type “localhost” for this.
Step 4: Move Your Key and Certificate
Create a folder named “key” in the c:/wamp64/bin/apache/apache2.4.41/conf/ directory.
Navigate to c:/program files/openssl-win64/bin/ to find the certificate.crt and private.key that you just created. Both of these need to be moved to the new folder c:/wamp64/bin/apache/apache2.4.41/conf/key/.
Step 5: Edit Your httpd.conf File
Open c:/wamp64/bin/apache/apache2.4.41/conf/httpd.conf and un-comment (remove the #) the following 3 lines:
Step 6: Edit Your httpd-ssl.conf File
Open c:/wamp64/bin/apache/apache2.4.41/conf/extra/httpd-ssl.conf and change all the parameters to the ones shown below.
DocumentRoot needs to be set to the location of your website files. ServerName can be “localhost” or however you choose to access the website in your web browser “example.com”.
Step 7: Restart WampServer
Everything should be set up now. Make sure you restart WampServer for the changes to take effect. If you see a green WAMP icon everything should be right. If the icon is orange there is a problem with your syntax somewhere.
You can run c:/wamp64/bin/apache/apache2.4.41/bin/httpd -t in command prompt and if there are any syntax errors they will be listed.
You should now be able to access your website with HTTPS / SSL enabled.
Keep in mind that you will still get a “not secure” warning in your web browser. Just add an exception and you will be able to access the website. This is a self-signed certificate and is for development purposes only.


Comments
Post a Comment